Get the weekly SPARTANAT newsletter.
Your bonus: the free E-Book from SPARTANAT.
HOW TO: Combat Shirt ST10 Style
Learn how to create your own Combat Shirt ST10 Style, similar to the ones worn by SEAL Team 10 in Baghdad. This guide provides step-by-step instructions on tailoring a Combat Shirt using materials like Under Armour Shirt, DCU, zipper, and velcro. Follow the detailed process to customize your Combat Shirt just like the real ones. Happy crafting!

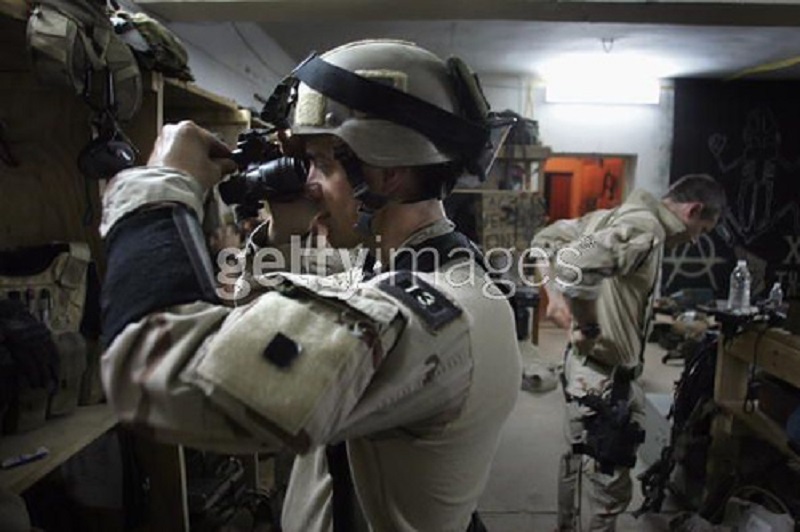
You're probably familiar with the images of SEAL Team 10 in Baghdad, where the men are gearing up for a RAID Mission. You may have noticed the Combat Shirt they wear. The best thing about this shirt is that it was made by the SEALs themselves or by a locally based tailor. It consists of an Under Armour functional shirt and a 3col BDU (DCU). Today, we want to show you how you can tailor something like this for yourself. And if you can't do it yourself - our Lt. Dan can sew of course -, then it's a guide for your trusted tailor.
 Materials needed
for a Combat Shirt ST10 Style:
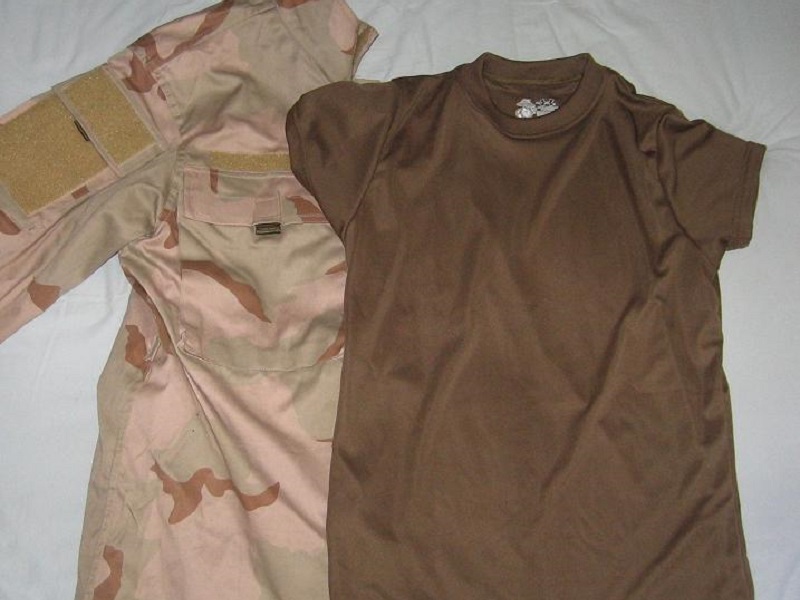
- Underarmour Shirt
- DCU
- Zipper 12-15 cm long
- Velcro in various lengths and widths
- Tailoring tools
The first step is relatively simple: cut off the sleeves and collar from the DCU and the sleeves from the UA-Shirt. For the shirt, a pair of scissors is recommended as the tool of choice. Additionally, cut out the chest or waist pockets of the DCU so that they can later be sewn onto the sleeves. In our case, they were already attached there, but we decided afterwards to position them diagonally.
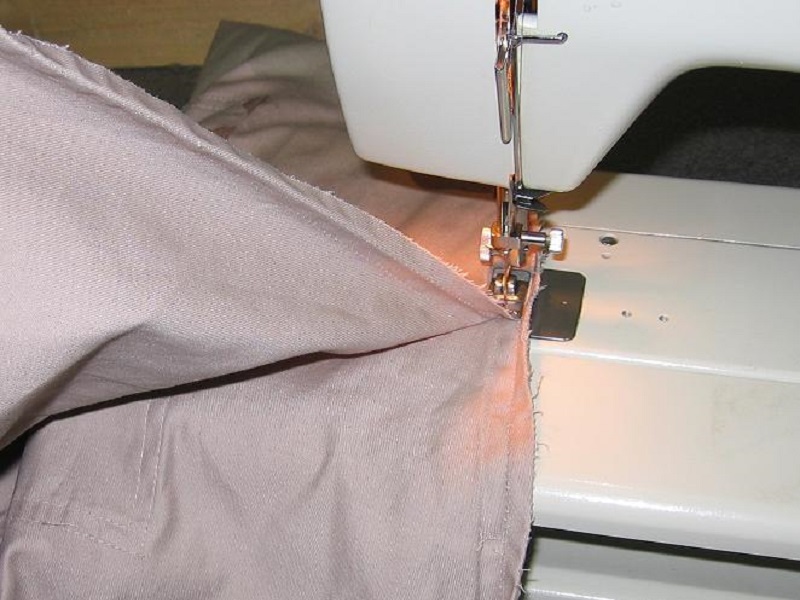 If you also want the pockets to be diagonally positioned, now is a good time, before the sleeves are reattached. The best method for this is to split the sleeve at the bottom seam to allow enough space. Once the pockets are equipped with velcro and positioned, it is time to sew the sleeve back on in its original position.
Now sew the collar of the DCU over the collar of the UA-Shirt. However, you need to cut about 12 cm on the front of the shirt - from the collar downwards - and sew the zipper there, otherwise you won't be able to get the Combat Shirt over your head.
 Once you've done that, it's time for the easiest but most important part, sewing on the sleeves. To do this, turn the UA-Shirt inside out (from left), and insert the sleeve normally (from right, in tailoring language). This way, the seam will not be visible from the outside; almost all t-shirts and sweaters are sewn this way. Mark the top of the sleeve and shirt, as ripping it out later is very tedious.
Simply sew around twice in a circle, making sure not to sew shut the opening. If all has gone well, it should now look something like this:
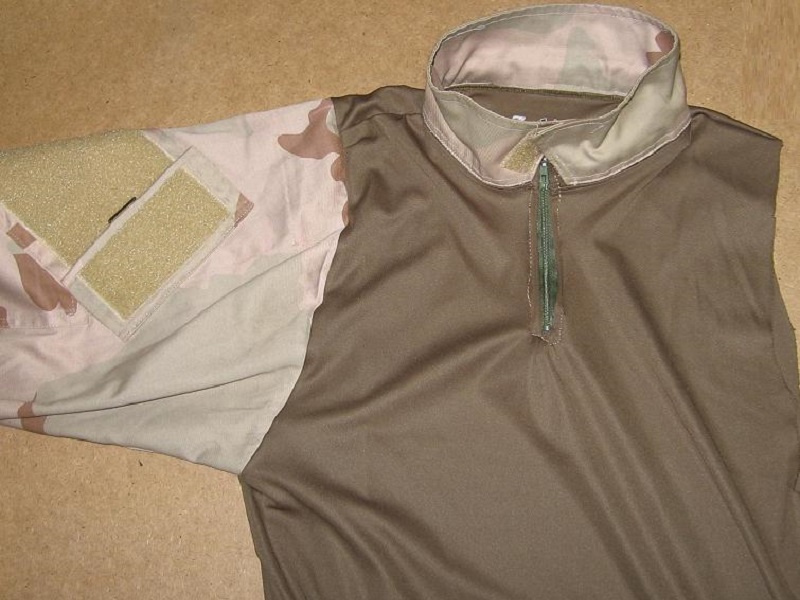 Repeat the same process with the other sleeve, and then you've actually done it, you've created your own Combat Shirt, just like the real ones.
 This is just an example for the pocket and velcro arrangement, everyone can decide for themselves how much and where they want velcro. In this sense: Happy crafting and don't sew your fingers together!
SPARTANAT is the online magazine for Military News, Tactical Life, Gear & Reviews.
Send us your news: [email protected]
Ad
similar
Get the weekly SPARTANAT newsletter.
Your bonus: the free E-Book from SPARTANAT.